Rabbits in TLR are let loose on rotation for their daily runs. As of late, I have been really lazy to clean up after every run. Sometimes they tend to be a little cheeky and leave a lot of pee and poop for me to clean up. I finally stopped procrastinating and went ahead with what I love to do over the weekend - Rabbit DIY. This time I built an indoor Rabbit Run - limited apartment space. It is good to have a run so that I do not need to worry too much about pee and poop. Also, I do not need to worry about having my electrical cords chewed by these rascals.
I must mention that this design is inspired by Alicia of Pet Epicure and all those NIC panel peeps! Thank you!
Ingredients for a perfect rabbit run:
1) 3 big chloroplast board
2) 1 roll of cloth tape
3) 1 tube of clear sealant
4) Lotsa cable tie
5) Binding rings (I think so)
Step 1:
Lay all Chloroplast board side by side, tape them together, turn them around and apply sealant at joins.
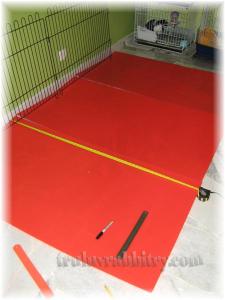
- Measuring to fit the puppy playpen
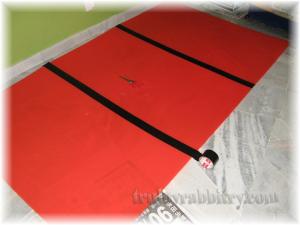
- Taping the bottom
Step 2:
Fold up the sides
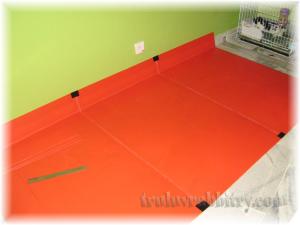
- Folding the sides
Step 3:
Secure with cable ties (the tool man's favorite!)
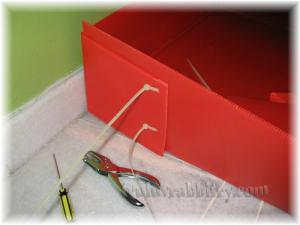
- Cable ties are the best human creation!
Step 4:
Apply sealant where pee matters! Wait out to dry!
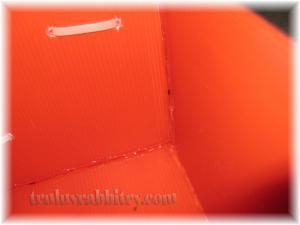
- Apply sealant at the corner where the rascals love to point and shoot!
Step 5:
Place the big a** pan where you want the run to be.
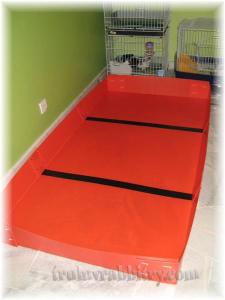
- That's a major pan with an attitude!
Step 6:
Put in the puppy play pen.
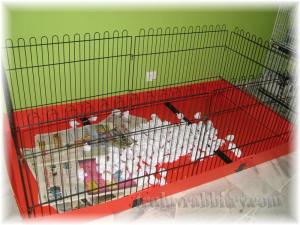
- Finally found good use for this puppy play pen
I am quite eager to take a photo with a bunny in it but I just have to wait out for the sealant to dry.
Step 7:
Secure sides with binding rings.
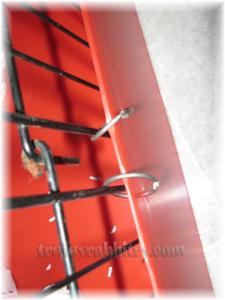
- Binding rings are my favorites too!
Just admit it, that has got to be one of the best DIY in a rabbit owner's history right!? Please drop a comment to appreciate and don't be shy to copy this - it's dedicated to all the copy cats in the world (LOL!)!
There you have it, another great DIY project from TLR! Have a nice weekend and stop protesting!
P/S: Please pray for Truffles. He's going for his castration tomorrow. New owners are awaiting for his safe return home next week! All bunnies paws together now!

No comments:
Post a Comment